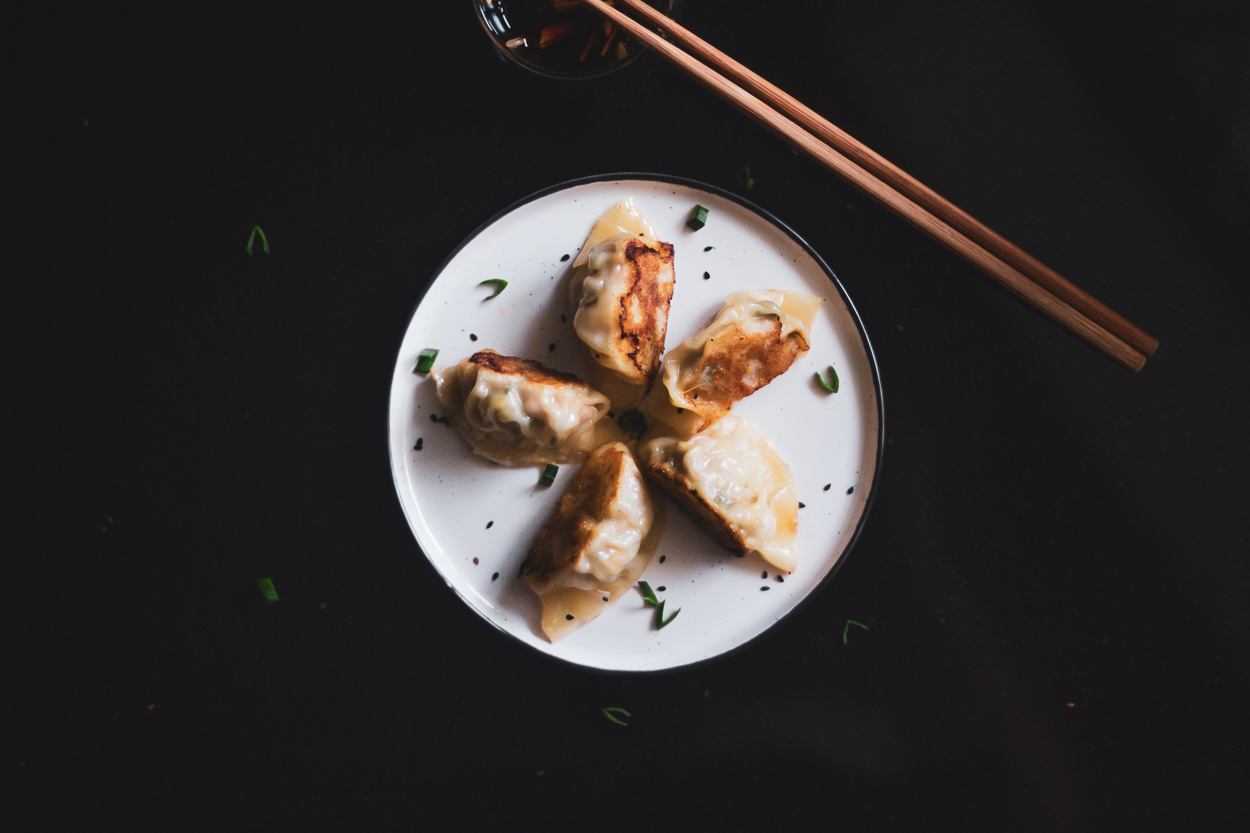
Growing up in a very Chinese household, we had homemade potstickers at least once a month – steamed, fried, boiled, mushroom filling, shrimp filling (you name it). So it’s no surprise that we always have to order a plate of potstickers when we eat out at an Asian restaurant. But at the end of the day, nothing will ever beat homemade potstickers.
The best thing about homemade potstickers is that it’s so easy to put together and you can completely customize the fillings. We’ve made shrimp potstickers before so we tried something a little different with a pork filling with tons of cabbage. But feel free to use your favorite kind of protein, although we’ve found that pork really creates a more tender filling than any other kind of ground meat. You can even add in your favorite veggies that you have on hand!

A little tip for those who use cabbage in your potstickers. This step is crucial to perfect potstickers – salt the cabbage to draw out the water. Cabbage contains a lot of water, and the cabbage releases the water when it cooks, which makes the potstickers soggy (and prevents crisp bottoms.) The salt will draw out the water, later we’ll squeeze the cabbage and discard the water.
Add a little salt to the cabbage. Give it a good stir and let sit for 7-10 minutes while you move forward with the rest of the recipe.

When filling in your potstickers with the skin, start by pinching the middle tight. While my sister likes to work right-hand side first, I prefer starting with the left. Not sure why! Either is fine. Pleat the outer edge towards the middle. Repeat 2 more times for a total of 3 pleats on this side. Then pleat the right side. Make 3 pleats towards the center. A final step, pinch the entire edge tight.


You can even make a huge batch of potstickers and pop them right in the freezer – that way you can indulge in your Asian food cravings whenever you want! Just be sure to freeze them on a baking sheet first before throwing them into a freezer bag. When you’re ready to eat, you can toss them right onto the skillet without thawing, although cooking time may be longer than usual.
So there you have it – easy homemade potstickers with customizable fillings that you can make ahead of time and freeze. Now, who still wants store-bought potstickers?!

Now when it comes to cooking them. Start by heating up the oil in the non-stick pan. When the oil is heated up, start lying your potstickers evenly in the pan.
Let cook for 1-2 minutes. While they are browning, get 1/4 cup of water and the pan’s lid ready – you’ll need these at your side shortly. Peek underneath a dumpling to give it a look. Not brown yet. Cook a little longer!

Check a couple of different dumpling bottoms – sometimes your pan can cook unevenly. When the bottoms are browned, grab your 1/4 cup of water in one hand, and the lid in the other. Carefully and slowly pour in the water (it might splatter a bit) and immediately cover with the lid to trap the steam.
Let cook for 2 minutes. Then, open the lid. There should be lots of water bubbles as the water heats up and steams. The steam cooks the dumplings on the inside. Keep the lid off and let the water continue to cook and evaporate.
Cook, uncovered until all water has evaporated and the bottoms are now crisp and browned. Isn’t it easy, let’s get started!

Ingredients |
- 1 pound ground pork
- 1 cup shredded green cabbage
- 2 cloves garlic, pressed
- 2 green onions, thinly sliced
- 1 tablespoon freshly grated ginger
- 2 tsp sesame oil
- 1/4 tsp white pepper
- 36 won ton wrappers
- 2 tbsp vegetable oil Soy sauce, for serving
Method |
In a large bowl, combine pork, cabbage, garlic, green onions, ginger, sesame oil, and white pepper.
To assemble the dumplings, place wrappers on a work surface. Spoon 1 tablespoon of the pork mixture into the center of each wrapper. Using your finger, rub the edges of the wrappers with water. Fold the dough over the filling to create a half-moon shape, pinching the edges to seal.
Heat vegetable oil in a large skillet over medium heat. Add potstickers in a single layer and cook until golden and crisp, about 2-3 minutes per side. Serve immediately with soy sauce, if desired.
Make this dish, it’s definitely a show stopper! Take a photo of your version, send us an email, tag us on Instagram, tweet us, anything. We love to see you trying out our recipe!
xoxo, Joe


No Comments