This is the first time I made my time Pita Bread, It’s a big success! The homemade pita bread is seriously going to change your life. This is a bold statement, but trust me, this stuff is ridiculous. I can confidently say that after making pita bread at home, you won’t ever want store-bought pita again.
We were initially nervous about making pita bread at home, but it turns out that it is pretty simple and requires just 5-ingredients. The longest part of the recipe is the rising time!

Pita is also great make-ahead bread. I often prepare the dough through the first rise, punch it down, and then keep it refrigerated for up to a week. The flavor actually improves after a few days of chilling. You can bake the whole batch at once or cut off just what you need to make one or two flatbreads at a time.

If you don’t have a standing mixer, no need to worry. You can make this recipe with a bowl and a good ol‘ wooden spoon, it will just take a bit more time with manual mixing and kneading.
Aside from the hours it took for the dough to rise to perfection; my active time on the recipe was but 45 minutes. And it bakes in a quick 8 minutes! So when you make this recipe, I recommend you start earlier in your day. And while your dough is rising, you can get other things done. Better yet, prepare the dough in the evening and leave it to rise overnight.
Although it is ideal that the pita bread will begin to puff up and fill with hot air to get the perfect “pockets”, it is not necessary or always expected.


Ingredients |
- 1 cup lukewarm warm water
- 1 tablespoon sugar
- 2 1/4 teaspoons (1 package) active dry active yeast
- ~3 cups all-purpose flour (or enough to form a soft and slightly sticky dough)
- 1 tablespoon extra virgin olive oil
- 1 3/4 teaspoons salt
Method |
Add the warm water, sugar, and yeast to the bowl along with 1 cup of flour. Whisk everything together until uniform and set it aside for 15 minutes. The mixture should bubble and foam. Add the olive oil and salt, along with 1 1/2 cups of flour. Mix until the dough is soft and no longer stick to the sides of the bowl. If it does stick, add an additional 1/4 cup of flour at a time (we added 1/2 cup more for a total of 2 cups). Knead on low for 5 to 6 minutes.* Remove the dough from the bowl, turn it out onto a floured work surface and form it into a ball.
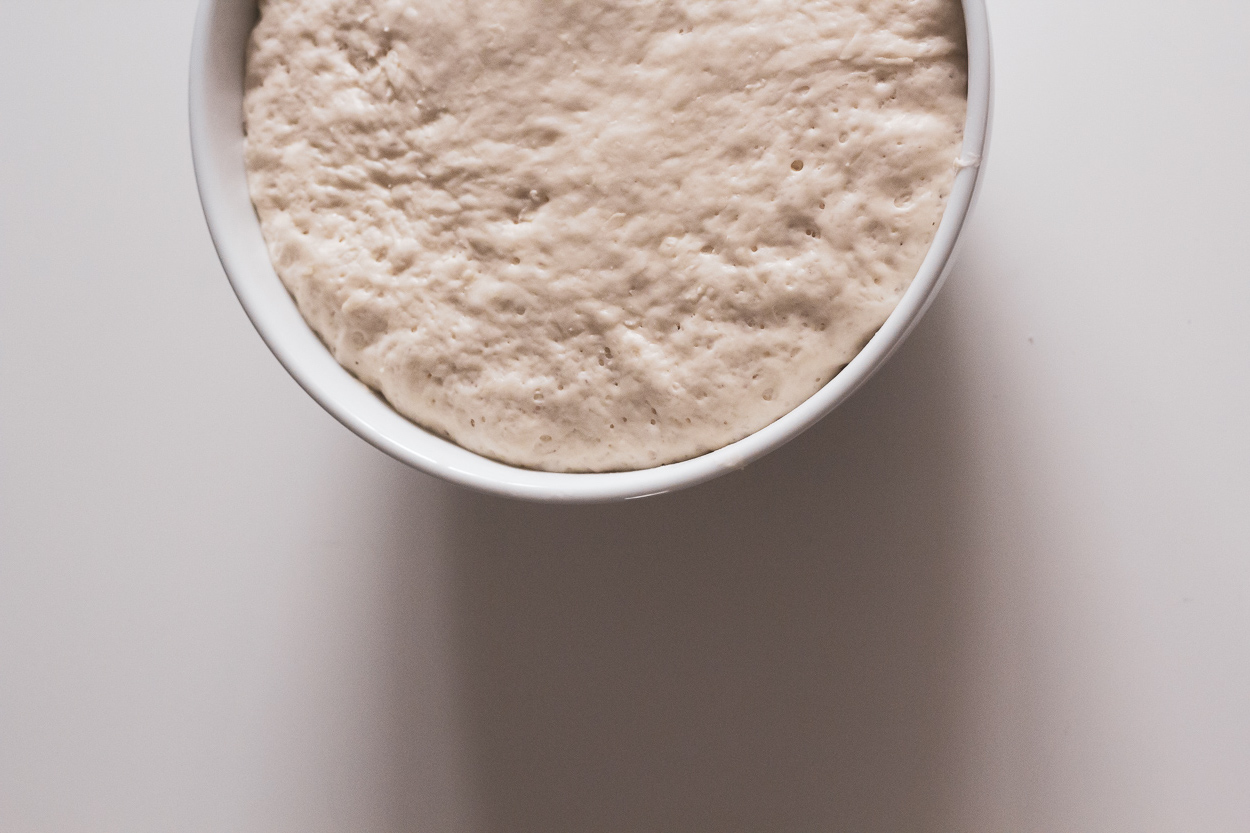
Lightly oil a large bowl and place the dough inside. Turn it over to coat it with oil, and cover the bowl with a clean kitchen towel. Allow the dough to rise in a warm area for 2 hours or until doubled in size. Remove the dough from the bowl and place onto a floured work surface. Form the dough into a large ball and cut it into 8 pieces using a sharp knife. We roughly estimate here but if you would like everything to be even, use a food scale to weight out each dough piece to ensure they are equal.
Form each piece of dough into a small ball, pulling dough from the sides and tucking the ends underneath the bottom. Place the balls about 1-inch apart onto the floured work surface and cover them with a lightly oiled piece of plastic wrap. Allow the dough to rest for 30 minutes.
Once rested, roll the dough balls out into flat and round pitas, about 1/4-inch thick. If you do not have a rolling pin, you can simply use your hands to pat the dough flat as best you can. Allow the dough to rest for 10-30 minutes. From our experience, the longer the better! The longer the dough sits, the more likely it will form a pocket in the pita when cooking.
Brush a cast-iron skillet with a tiny bit of olive oil and place it over medium-high heat. Add the pita bread dough into the skillet. Cook until bread begins to puff up and the bottom has browned about 2-3 minutes. Flip and cook for 2 minutes more. Wrap the cooked bread in a clean dish towel as you continue cooking the rest of the pita to keep them warm.
Best if served immediately; if not, the pita will last in the airtight container at room temperature for about 5-7 days.
xoxo, Joe.


No Comments